Step 6. Create your MACH stack
MACH composer is undergoing a major, backwards compatible overhaul
MACH composer has been rewritten in Golang, coming from a Python version. We've done this because the Golang ecosystem is more suitable for a tool like this, as it is also the language in which Hashicorp builds Terraform itself.
Because of this, some commands might not be available yet in the Golang
version; particularly the mach-composer bootstrap command is not
available, which makes it a bit harder to start up. However, based on
the examples in the GitHub repository,
you should be able to get started without the bootstrap command.
For creating components, please instead of mach-composer bootstrap
component, use mach-composer-cookiecutter.
We do currently recommend to use the latest version (2.14.x).
If you are still on the Python version, the bootstrap command will still work.
1. Create MACH composer configuration file
To create a new MACH composer configuration file, run
mach-composer bootstrap config
A configuration will be created and can be used as input for MACH composer.
Edit your configuration so that it looks like the following example
---
mach_composer:
  version: 1.0.0
global:
  environment: test
  cloud: aws
  terraform_config:
    aws_remote_state:
    bucket: your-project-tst-tfstate
    key_prefix: mach
    region: eu-central-1
sites:
  - identifier: my-site-tst
    aws:
      account_id: ...
      region: eu-central-1
    commercetools:
      project_key: my-site-tst
      client_id: ...
      client_secret: ...
      scopes: manage_project:my-site-tst manage_api_clients:my-site-tst view_api_clients:my-site-tst
      languages:
        - en-GB
        - nl-NL
      currencies:
        - GBP
        - EUR
      countries:
        - GB
        - NL
    components:
      - name: api
components:
  - name: api
    source: ../components/api-component/terraform
    endpoints:
      main: default
    version: dev
Component source
We defined our component source as source: ../components/api-component/terraform.
This is a path relative to the MACH composer configuration file itself. Edit
your path so that it fits your current setup.
During actual development and deployment this will usually point to a Git repository.
See Syntax for all configuration options.
2. Configure credentials
In step 4 we've used the
terraform-aws-mach-account module
to set up the AWS account for us.
This also created an IAM user called mach and a role mach that we
can use to perform MACH composer deployments with.
In this tutorial, we'll be using the mach role, so we can configure the
credentials in the same fashion we did for the
component upload:
Make sure the following is added to your ~/.aws/config file:
[profile your-project-tst]
source_profile = default
role_arn = arn:aws:iam::<service-account-id>:role/mach
Using the mach user
In order to use this user, go to your AWS console and open the Systems Manager Parameter Store to view the credentials.
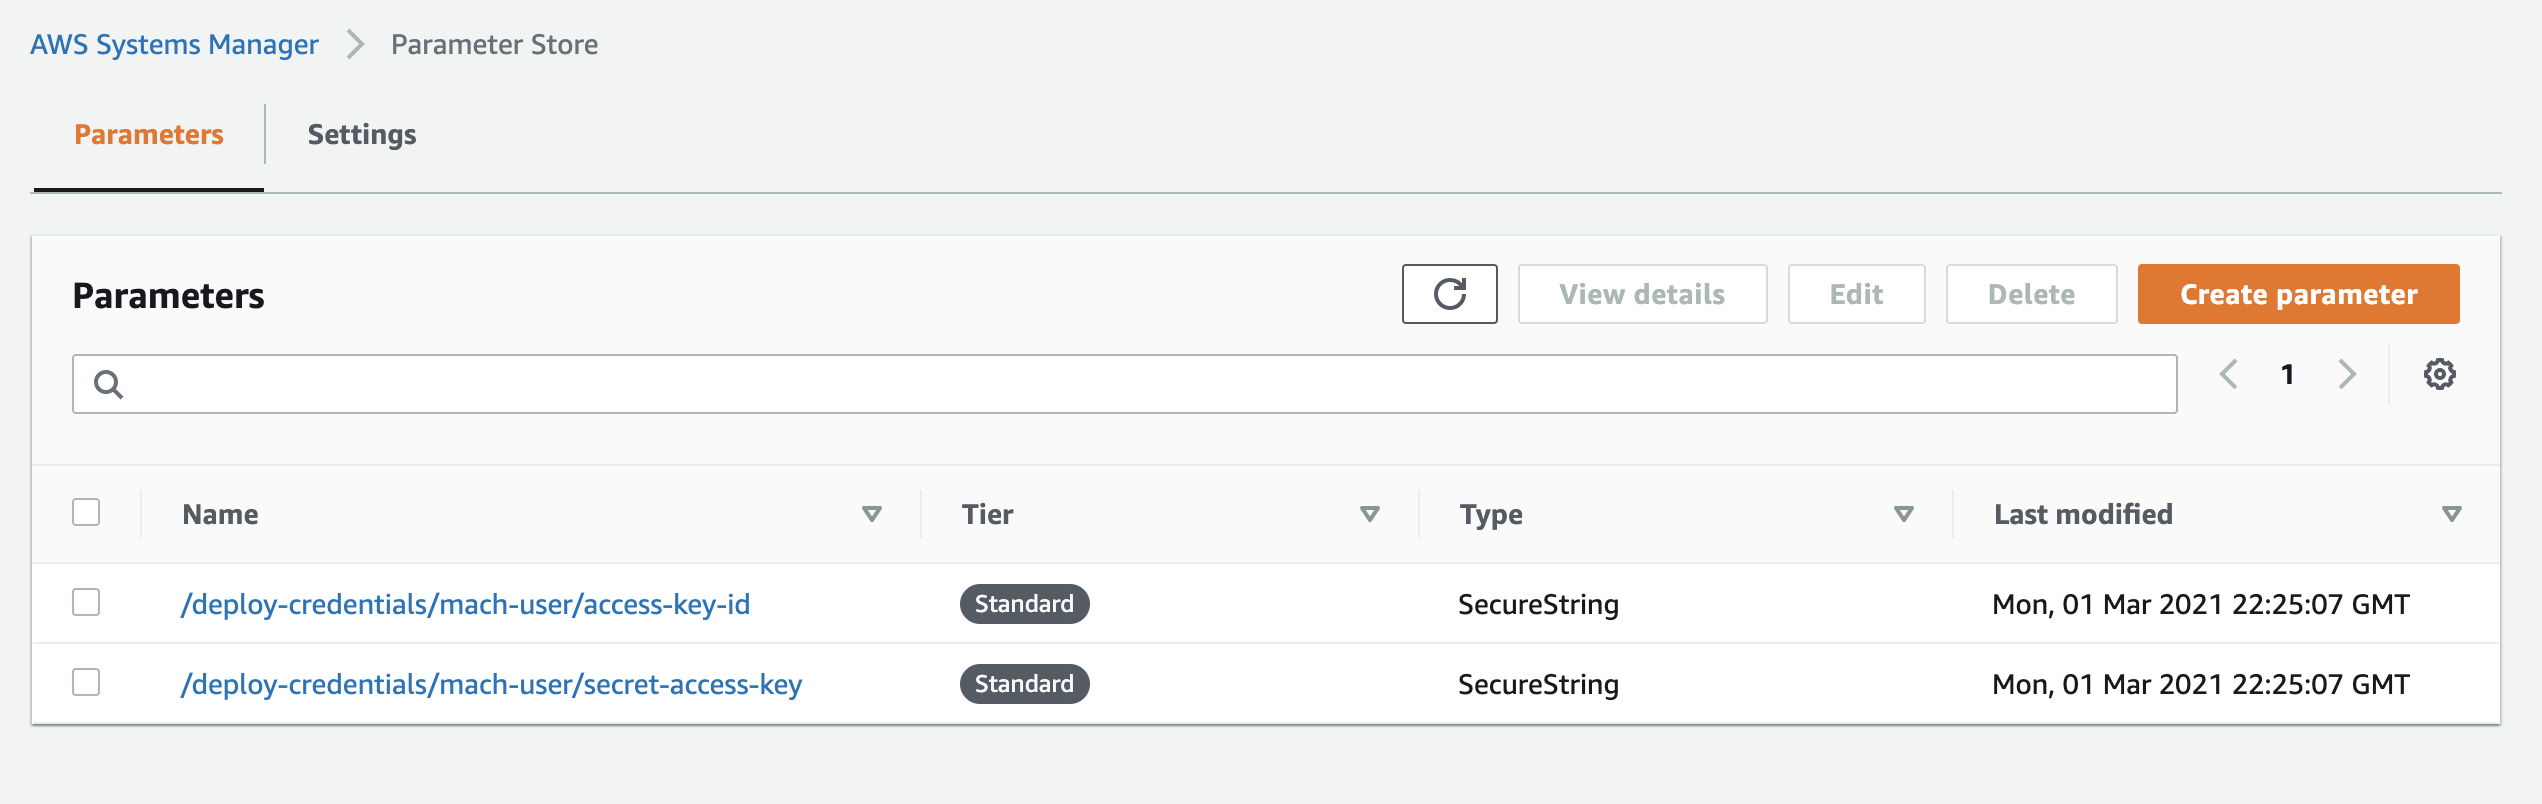
These credentials can be used directly in your local AWS setup or in your CI/CD pipeline.
3. Deploy
You can deploy your current configuration by running
$ mach-composer apply
Providing AWS credentials
How you provide the AWS credentials is dependent on your local setup.
For example; you could invoke this with
AWS_DEFAULT_PROFILE=your-project-tst mach-composer apply or with
aws-vault:
aws-vault exec your-project-tst -- mach-composer apply
After confirming the changes, you will see a success output like this:
Apply complete! Resources: 6 added, 0 changed, 0 destroyed.

Outputs:

endpoints = {
  "default" = "https://cytbsqhtp5.execute-api.eu-central-1.amazonaws.com"
}
Done 👍
If you now append the endpoint with /api/healthcheck you have the URL of the
API endpoint we created in our component:
$ curl https://cytbsqhtp5.execute-api.eu-central-1.amazonaws.com/api/healthcheck
> {"ok":true,"version":"dev","environment":"test"}
Example files
You can find example files needed for preparing the infrastructure and a configuration file on GitHub in the /examples directory
Further reading
- See the CLI reference for more deployment options.
- Set up your CI/CD pipeline on GitLab, GitHub or Azure DevOps
- Encrypting your configuration with SOPS
- How to create a new MACH component
- Architectural Guidance